
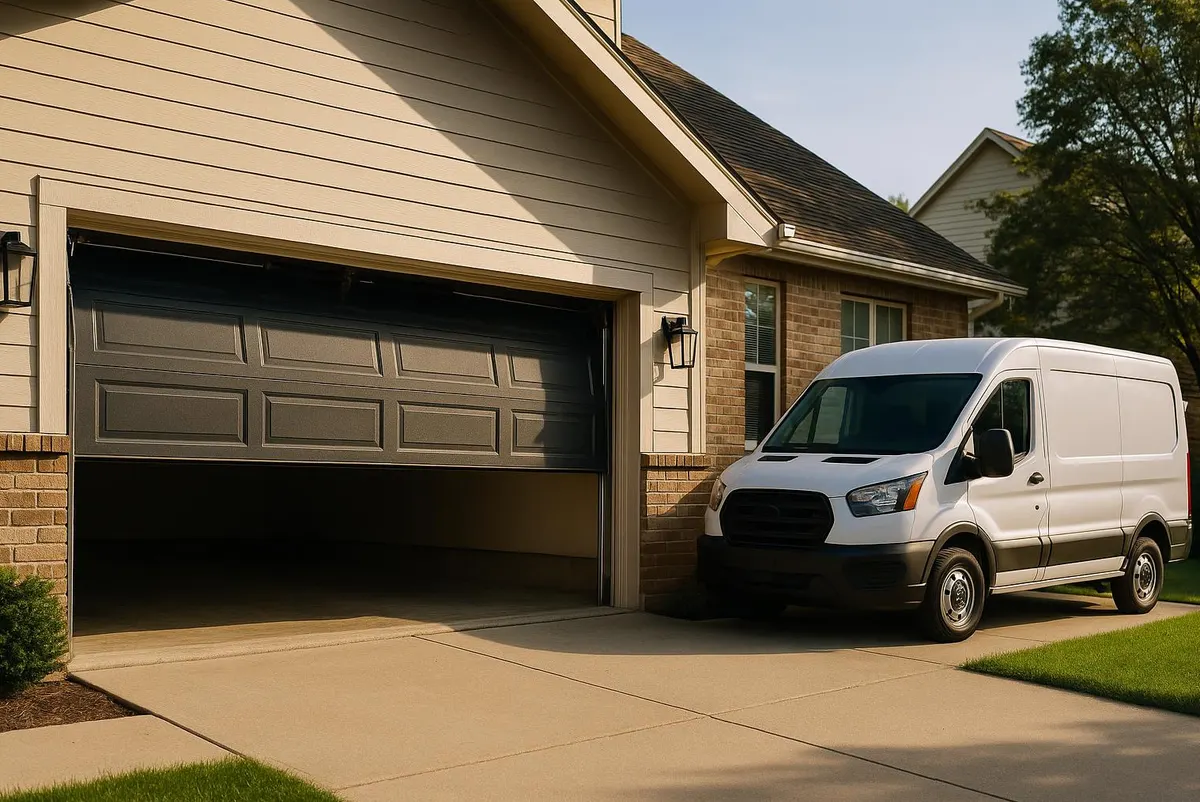
Rule of thumb: if you can see daylight under your garage door, feel a draft, or keep sweeping out sand and dead palmetto bugs along the bottom edge, the seal is shot and it's a cheap, fast fix. The exceptions matter, though. If the seal has torn twice in the same year, if the door doesn't sit flush on the slab even with a brand-new seal, or if the bottom bracket shows rust or bends, you're not looking at a weatherstripping problem anymore — you're looking at a door that's out of alignment or a hardware issue, and that's technician territory.
What's Actually Failing
Most garage doors have three separate weather barriers, and they wear out at different rates:
- Bottom seal (astragal): the rubber or vinyl strip along the bottom edge of the door panel. This takes the most abuse from heat, grit, and constant contact with the slab.
- Side and top weatherstripping: thinner strips along the jambs and header that stop wind-driven rain during afternoon downpours.
- Threshold seal: an optional strip glued to the slab itself, useful on driveways that slope toward the garage.
In this climate, UV exposure, humidity swelling, and salt air near the coast all shorten the life of these parts well below what you'd expect in a drier climate. A bottom seal that looks fine in January can be cracked and flattened by the following summer.
Tools You'll Need
- Tape measure
- Utility knife
- Flathead screwdriver (for stubborn track seals)
- Replacement seal matched to your track profile — T-style, bulb, or flush, sold by the foot in most hardware stores
- Soapy water or silicone spray as a lubricant
- Shop vac or stiff broom
- Work gloves
Do this job early morning or evening — midday heat on a metal door and concrete slab makes the vinyl stiff and harder to seat, and nobody wants to be out there at the top of Florida's afternoon storm window.
Step-by-Step: Replacing the Bottom Seal
- Close the door fully, then disconnect the automatic opener by pulling the manual release cord so the door can't move while you work.
- Clean the bottom panel edge and the retainer track. Coastal grit, salt film, and mildew buildup are common here and will keep a new seal from seating properly if left in place.
- Measure the width of the door and identify your track profile before buying a replacement — seals are not universal, and the wrong profile won't lock into the channel.
- Pull the old seal out of the retainer track, sliding it out from one end. A flathead screwdriver helps pry it loose if it's brittle or stuck.
- Cut the new seal a couple of inches longer than the door width so you have room to trim after it's seated.
- Feed one end of the new seal into the track and work it through. A little soapy water on the strip makes it slide instead of binding.
- Once it's fully seated and even on both ends, trim the excess with a utility knife.
- Reconnect the opener, then run the door up and down slowly. Check that the seal makes even contact with the slab across the full width, with no visible gap or light coming through.
Don't Forget the Side and Top Strips
Side and top weatherstripping install the same way the bottom seal does, but they usually tack or screw into wood or metal jambs rather than sliding into a track. Replace them if you notice water staining on the garage floor near the frame after storms, or if you can feel moving air around the edges when the door is closed and the AC is running. These strips are what keep wind-driven rain out during a downpour, so don't skip them just because the bottom seal was the obvious culprit.
Where DIY Ends and a Technician's Visit Starts
This is a job most homeowners can do in under an hour with basic tools. But stop and call in help if you run into any of the following:
- The bottom bracket is rusted, bent, or visibly loose — these brackets are under spring tension and are not safe to work on without the right equipment.
- The door still doesn't sit flush on the slab after a new seal is installed, which usually points to a track or roller alignment issue rather than the weatherstripping.
- Seals keep failing within weeks, which can mean the door is racking slightly on its tracks or rollers are worn enough to let the panel ride unevenly.
- Your door is rated for wind load. Hurricane-rated garage doors are engineered with specific astragal profiles as part of that rating, and swapping in a mismatched seal can affect how the door performs in high wind — this is worth having checked rather than guessed at.
When to Call South Daytona Overhead Door Co
If you've replaced the seal and the draft, water, or pest problem is still there, or if you're not sure your door's hardware is in good enough shape to work on safely, that's when to bring in a technician. Our Garage Door Maintenance & Tune-Up service checks rollers, hinges, tracks, and bottom brackets while we're resealing the door, so you're not just patching the symptom. If the door is sagging, binding, or clearly out of alignment, our Off Track Door Repair service gets it running true again before new weatherstripping is installed — there's no point sealing a door that isn't sitting right in the first place.
If your garage door in South Daytona, Port Orange, Holly Hill, Ormond Beach, or anywhere else in Volusia County is letting in drafts, water, or more bugs than you'd like, give South Daytona Overhead Door Co a call. We'll take a look, fix what's actually wrong, and have your door sealed up tight before the next round of storms rolls through.